Mo.co-Waffen-Tier-Liste
Waffen nach Schadensprofil, Überleben, Kontrolle und Nutzen in Solo-, Gruppen- und Boss-Situationen gerankt.
S-Tier

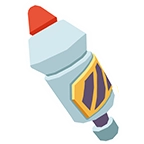
Warum hier: High-speed stabs plus a charged dash that deals massive damage and stuns non-boss monsters.

Warum hier: Long-range boss pressure ramps after 10 attacks through SPEED mode.
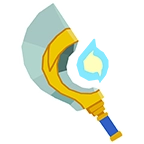
Warum hier: SPIN mode adds faster attacks, enemy pass-through, area damage, and a chance to avoid hits.
A-Tier
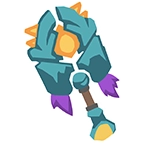
Warum hier: The summoned wolf adds area damage, a taunt, and a body-slam stun while you attack from range.

Warum hier: Bouncing energy balls give reliable cleave and stun value, with a stronger mega-ball combo.
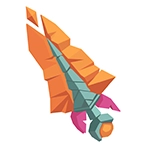
Warum hier: Front-facing area damage combines with up to three bees that add long-range pressure.
B-Tier

Warum hier: Its free rightmost-gadget activation can be strong, but the result depends on gadget cooldown and build.
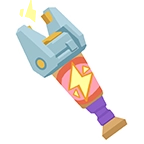
Warum hier: Reliable area swings and a slowing big hit are useful, but its single-target ceiling is more limited.

Warum hier: Poison volleys add damage over time and slow groups; spreading poison is more valuable than pure boss focus.

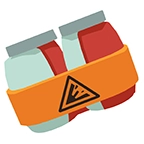
Warum hier: Twenty-five percent damage reduction and a retaliate slam make it dependable for defensive play, not raw damage.
C-Tier
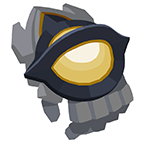
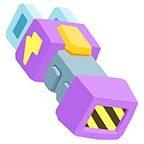
Warum hier: Area attacks and gadget cooldown reduction bring utility, but the kit is more tempo-dependent than top picks.

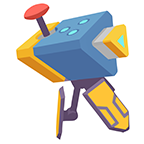
Warum hier: Long-range area damage and a delayed stun bomb are useful, but the combo is slower to land.
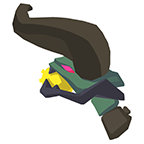
Warum hier: Three bolts and a piercing mega-shot reward tight positioning, which makes its output less forgiving.
D-Tier
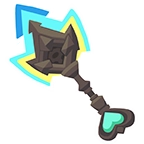
Warum hier: It heals allies while damaging at range, but the dedicated support role is niche when teams prioritize damage.
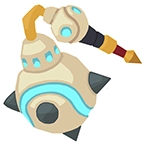
Warum hier: Close-range area damage and every-third-attack healing are useful in a coordinated group, but situational overall.